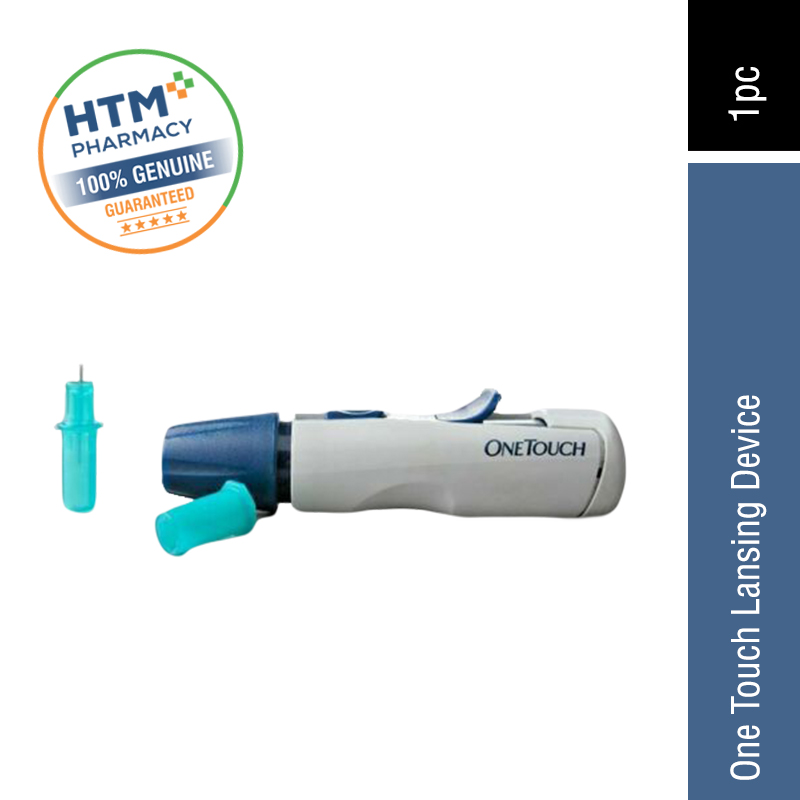
ONE TOUCH LANSING DEVISE


Although the lancet can be used alone to get a sample, it is much easier to use the lancing device along with it. The device provides a quick “punch” of the needle into the skin to make an effective and less painful stick. OneTouch, which is a popular brand of diabetic supplies, has a device that is easy to use. Each brand’s device will be a little different, but the general idea is the same. The following steps demonstrate how to use the OneTouch device. Step 1. Always wash your hands before checking your blood sugar. If there is bacteria on your hands and it enters into your blood, it can cause a major infection! First, take the cap off of the device and insert a new lancet with the safety cap still on. (If it is removed first, you can poke yourself!) When you insert the lancet, do not twist it around. It should easily fit. See the image below for a better description. Step 2. Take the safety guard off of the lancet to expose the needle. This can easily be done by simply twisting the small circle and pulling it off. Then put the cap to the lancing device back on carefully without poking yourself. Step 3. Many devices have different depths that you can choose from. This allows you to have a less painful finger stick. Based on your needs, pick the depth that is best by twisting the cap to the appropriate number. On the OneTouch device, there are 9 different settings to choose from, with 1 being the shallowest and 9 being the deepest. Step 4: Slide the button on top of the device back until it clicks. This loads the lancet so that it is ready to puncture when prompted. If it does not click, then it may have already been pushed back and be ready for use. Step 5. Press the device evenly and firmly along the fingertip. Press the button and let the lancet stick you and then pull the device away from your finger.
Subscribe for our latest news and be the first to know about our offers.
Size Guide
ONE TOUCH LANSING DEVISE